Nuke is used to do further 'correction' to the rock such that it looks natural in the scene. Motion blur is added when the rock is falling down at a fast speed. There is light wrap and defocus to blend the rock with the background. As you can see below, the rock now looks 'in place' in the scene.
Next the shadow of the rock rendered from Maya is composed in with Nuke too. The shadow is given a defocus to blur the edges. The shadow opacity is also configured to match the scene's natural shadow. It must not be too opaque or too light. Next to take into consideration will be the rock when it gets closer to the ground after the throw. The shadow is deliberately made more opaque (darker) as the rock gets nearer to the ground. And before the rock reaches the actor during the initial fall, its shadow is smaller and more faded. These are some of the things not seen in the scene as it happens too quickly. However, I understand from the ILM folks that this is what they will be doing too and try to achieve their level of perfectionism. =D
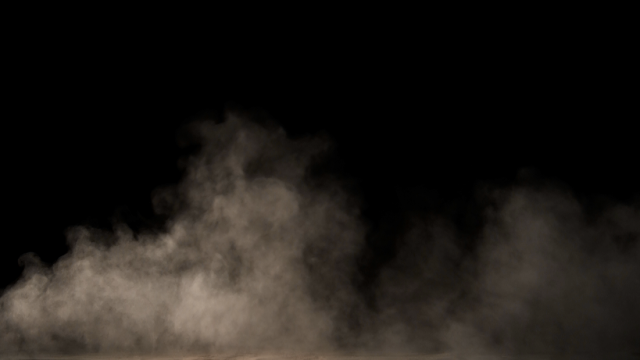
Below is one of the stock footage elements used in the scene.

AE is then used for the compositing of the effects next as the rendering and UI is more efficient to handle these compositing. The final scene below is created with all the effects and CG elements inside, from the rock to the surrounding effects. As mentioned previously, composting effects and CG is all about the timing, scale and colour accuracy of the footages which adds to the realism of the composed image. This is a very very tedious process of placing the effects layer by layer, rendering them out again and again to ensure that the final results look natural. I try to achieve as much movie realism to this whole scene as must as possible. =) If you were to look at the ground fracture here, it is timed very nicely with the appropriate amount of debri and dust sprayed in my opinion. (see the final production post later)
Example of dust falling footage:
Rock with dust falling particles composed:
The last part on the dirt splatter is a last minute idea I had. I knew that I have the blood splatter effect with me. Thus, a thought stuck that I can make it a dirt splatter instead. I change the color of the splatter from red to dark brown. Thereafter, I noticed that the splatter is fairly transparent and added another similar layer to it to make it look thicker like mud. Thus, the result is achieve!
Blood splatter with 2 layers:
Dirt splatter:


No comments:
Post a Comment